Decision 2: Activity levels and what the percentage measures
The mechanics behind Hubstaff activity levels are fairly straightforward, but activity scores are one of the most commonly misread numbers in the tool, and misreading them can damage employee trust.
Hubstaff’s activity tracking measures keyboard and mouse input as a percentage of total tracked time. For every second the timer is running, Hubstaff checks if there is (or is not) keyboard or mouse activity. While a common misconception, Hubstaff does not log keystrokes.
Activity levels are a helpful barometer for productivity, but they context is crucial.
As an example: If you use your keyboard for 30 seconds and then watch a training video for the remaining nine and a half minutes, your activity score for that interval will be really low (around 5%).
A high activity score does not automatically mean high productivity. Conversely, a low score does not always mean someone isn’t working.
The Hubstaff score reflects input patterns, not output quality, and the right way to use it is as an anomaly signal, or a way of noticing when something has changed from a person's existing baseline.
It should never be a way to rank people against each other. This is why, at Hubstaff, we actively discourage quotas or scoring based on activity rates.
That said, like screenshots, you can adjust activity thresholds based on projects, tasks, job roles, activity benchmarks, and other variables. Here is how to set this up in the Hubstaff app:
- Navigate to Settings > Work and Activity to configure activity tracking at the organization level.
- Set the idle timeout threshold. By default, 20 minutes without input triggers an idle status. Adjust this based on the nature of your team's work.
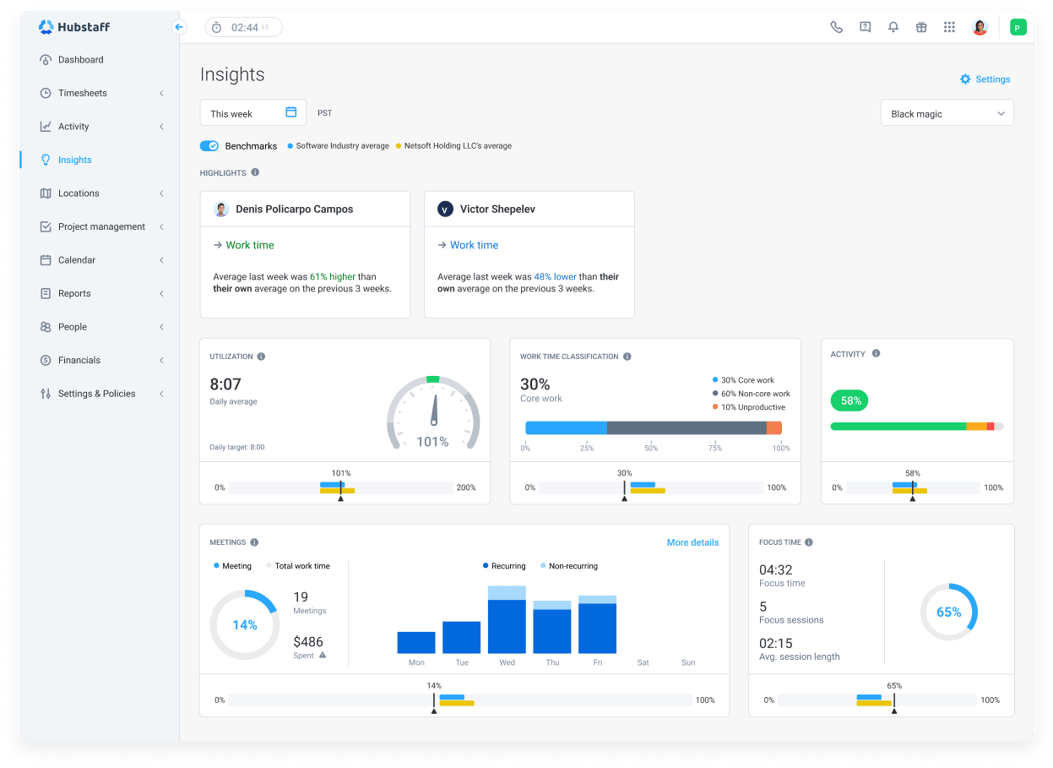
- Use Activity Benchmarks (under Activity > Screenshots) to understand your organization's average before drawing conclusions from individual scores.
- Use Insights to track trends over time rather than reading activity levels as point-in-time snapshots.
Decision 3: Granular permissions (who sees what)
The principle behind this is simple: data access should match decision-making authority. For instance, a team lead who manages three people does not need the same visibility as an HR director.
If everyone has manager-level access, no one does. Hubstaff's role-based permissions are built around this idea. In Hubstaff, there are six roles:
- Owner. Full control over the organization, including settings, billing, users, projects, and reports. One per organization. Reserve this for a business owner or IT admin.
- Manager. Can manage users, assign roles, oversee projects, and view reports. Cannot access billing or organization-level settings. Best for team leaders who need people and project oversight.
- Project Manager. Full control over assigned projects only. No access to organization-wide settings, other users, or billing.
- Team Lead. Can manage their assigned team, approve or edit timesheets, and handle team-specific invoices. No access outside their team.
- User. Can track their own time, view their personal dashboard, and access assigned projects. Cannot manage users or view anyone else's data.
- Project Viewer. Read-only access to assigned projects. Cannot make changes or track time.
Here is how you can configure access in Hubstaff:
- Go to the Hubstaff web app and navigate to Members or Teams in the sidebar.
- Locate the user whose role you want to assign or change.
- Select the appropriate role from the list and, for project-specific roles, specify which projects they should have access to.
- For Team Leads, assign them to the appropriate team within the Teams feature.
- Confirm and save. Updated permissions apply immediately.
We recommend starting with restriction. Start with the minimum access each role requires, because you can easily open up by exception.
Decision 4: App and URL tracking (productive vs. unproductive classification)
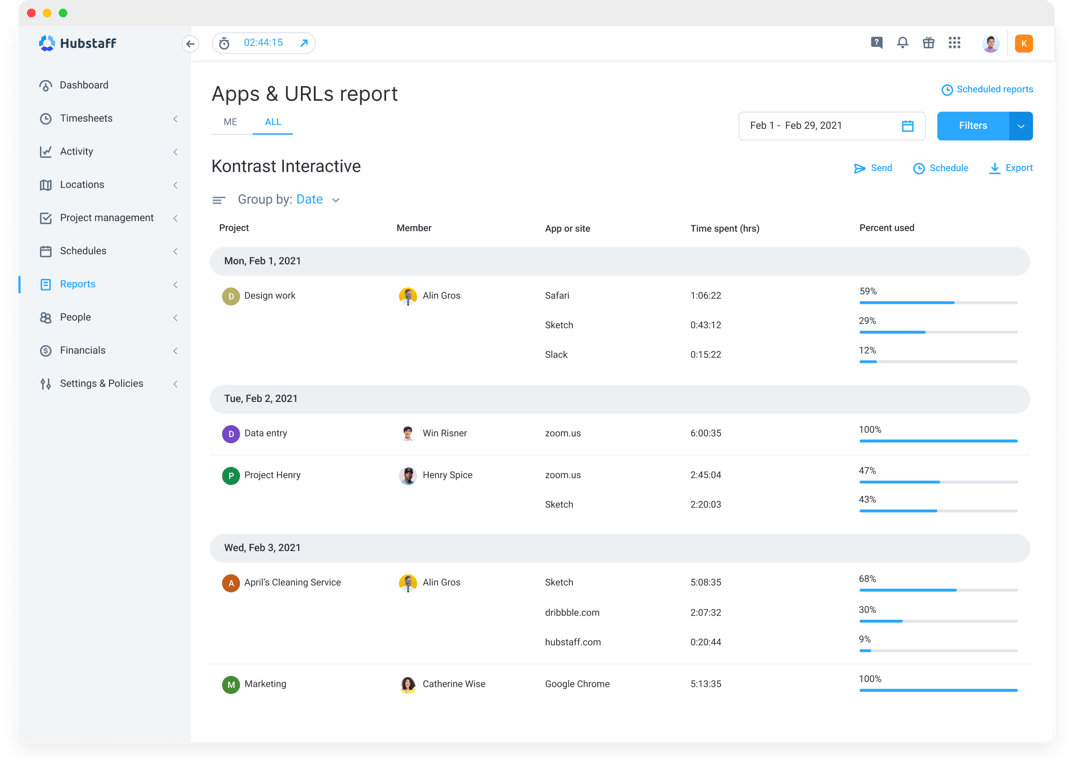
App and URL tracking logs the applications and websites your team uses, while time is tracked. This gives you context for the hours, so you can look at the quality of hours vs. quantity.
Here is how Hubstaff's app categorization works:
- The desktop app automatically logs active apps and websites during tracked time.
- Insights extends this further, letting you benchmark usage trends, spot unusual patterns, track AI usage across your team, and classify apps as productive, neutral, or unproductive.
- Team members can see their own app and URL data at any time, which keeps the feature grounded in transparency rather than surveillance.
The default classifications are a starting point, and for many knowledge workers, they may be incorrect.
As an example: Role-based classifications are important, as a sales role will look unproductive against a classification system built for developers and engineers.
Before you draw any conclusions from the data, review the default categories and adjust them to mirror how your teams actually work.
There is also a case for turning this feature off entirely if your team regularly handles sensitive client data, like:
- Legal documents
- Medical records
- Bank statements
- Financial records
In cases like these, the compliance risk of collecting that data may outweigh the productivity insight it provides. Stay abreast of laws that pertain to your team’s region, industry, and employment classifications.